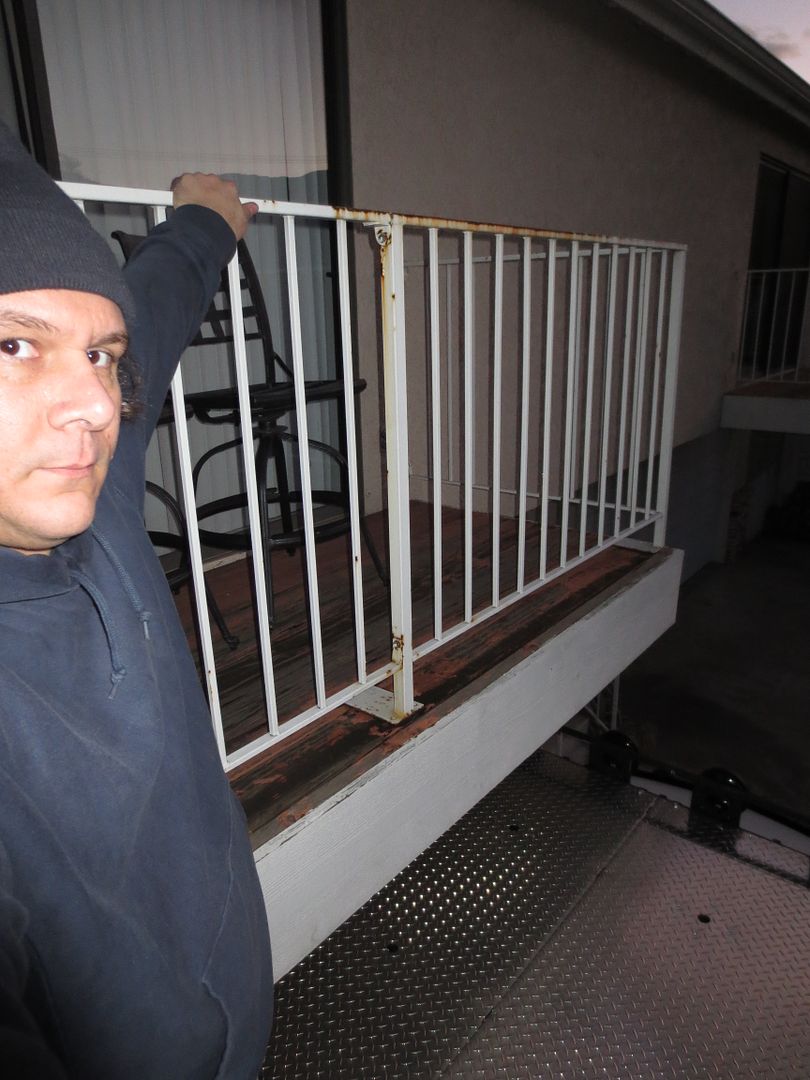
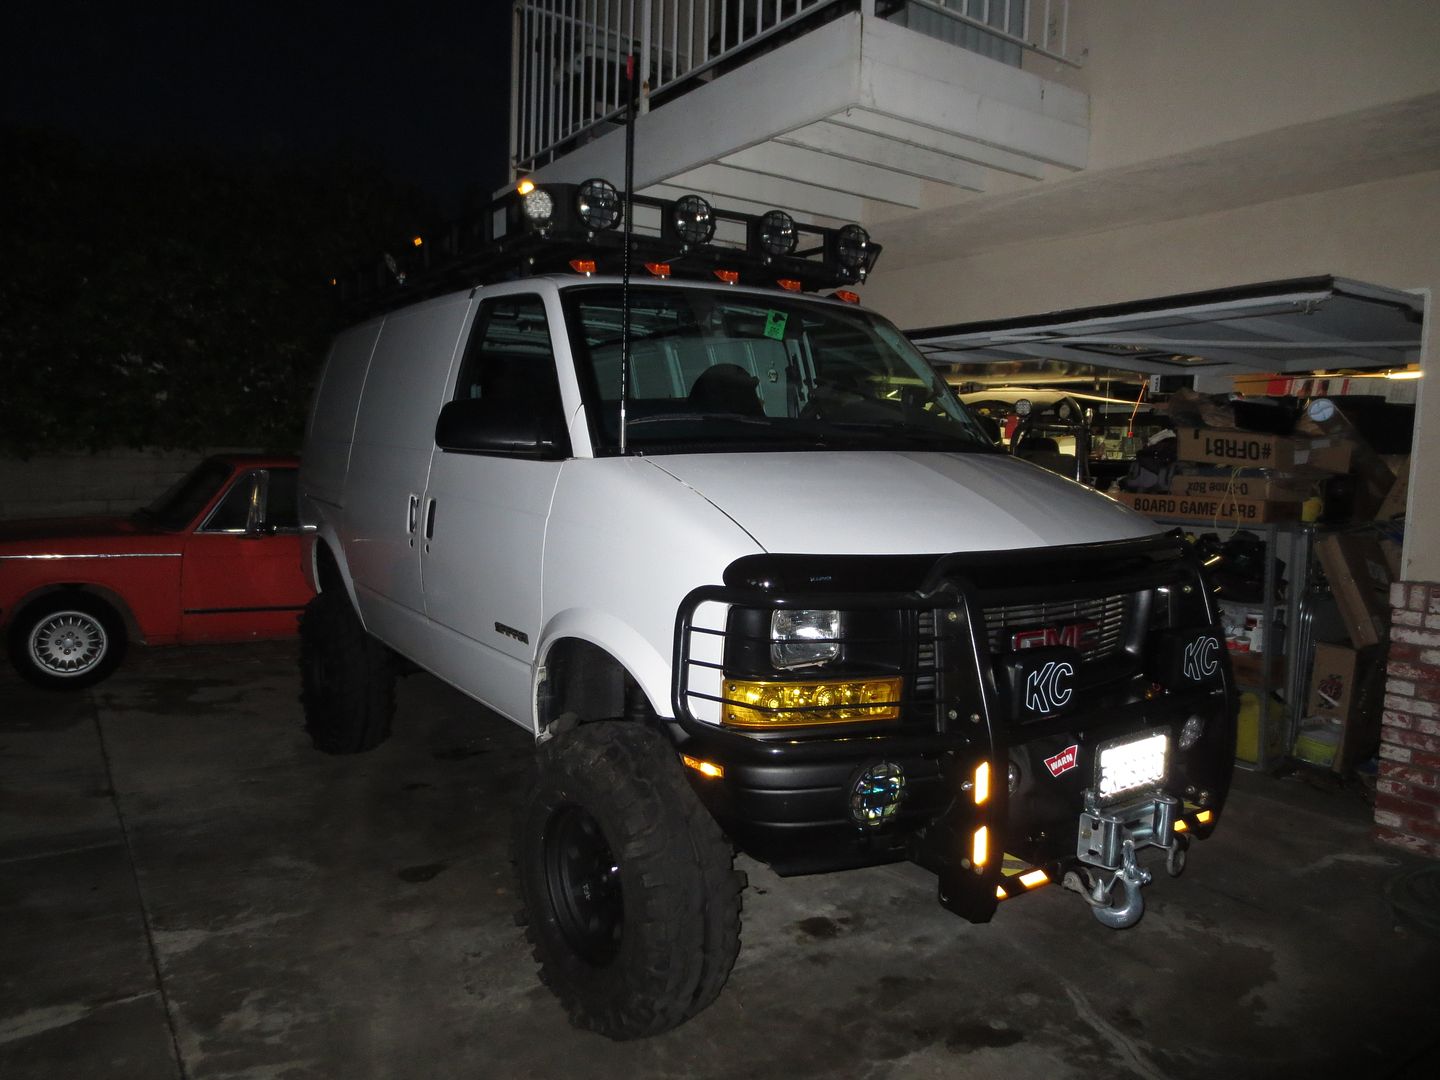
Re: Homebrew Con-Ferr Style Porthole Roof Rack Build
Posted: Sun Mar 18, 2012 9:16 pm
Thank you, thank you...
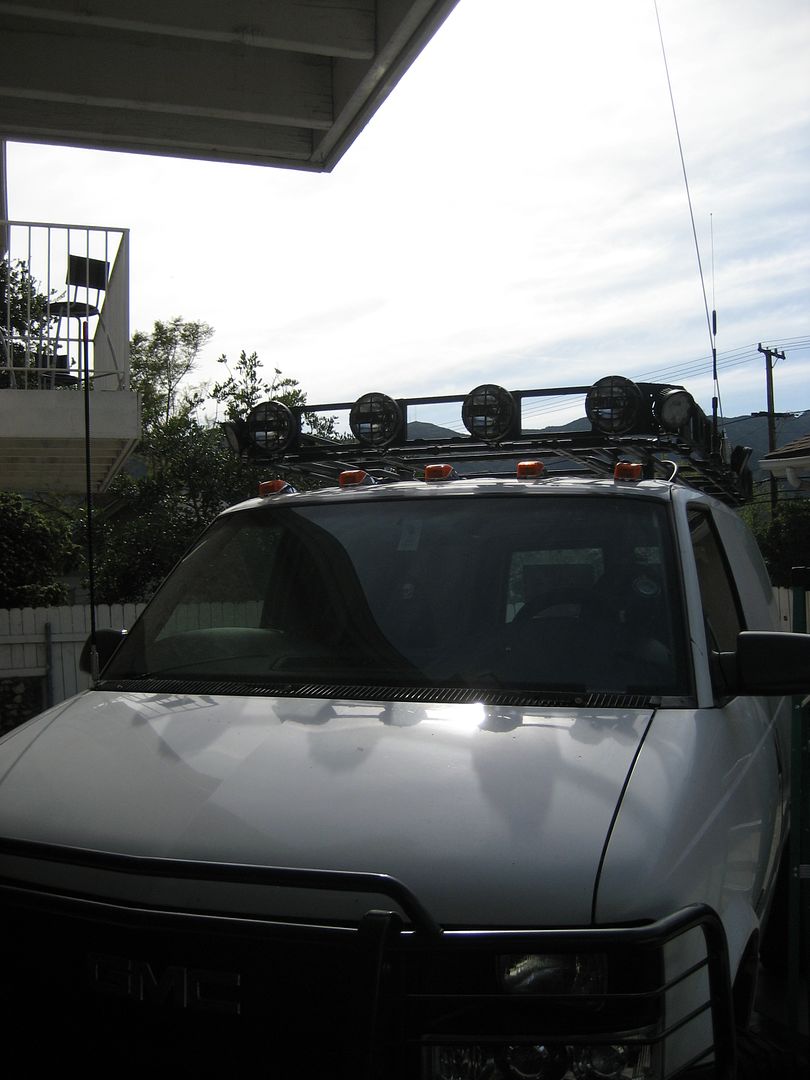
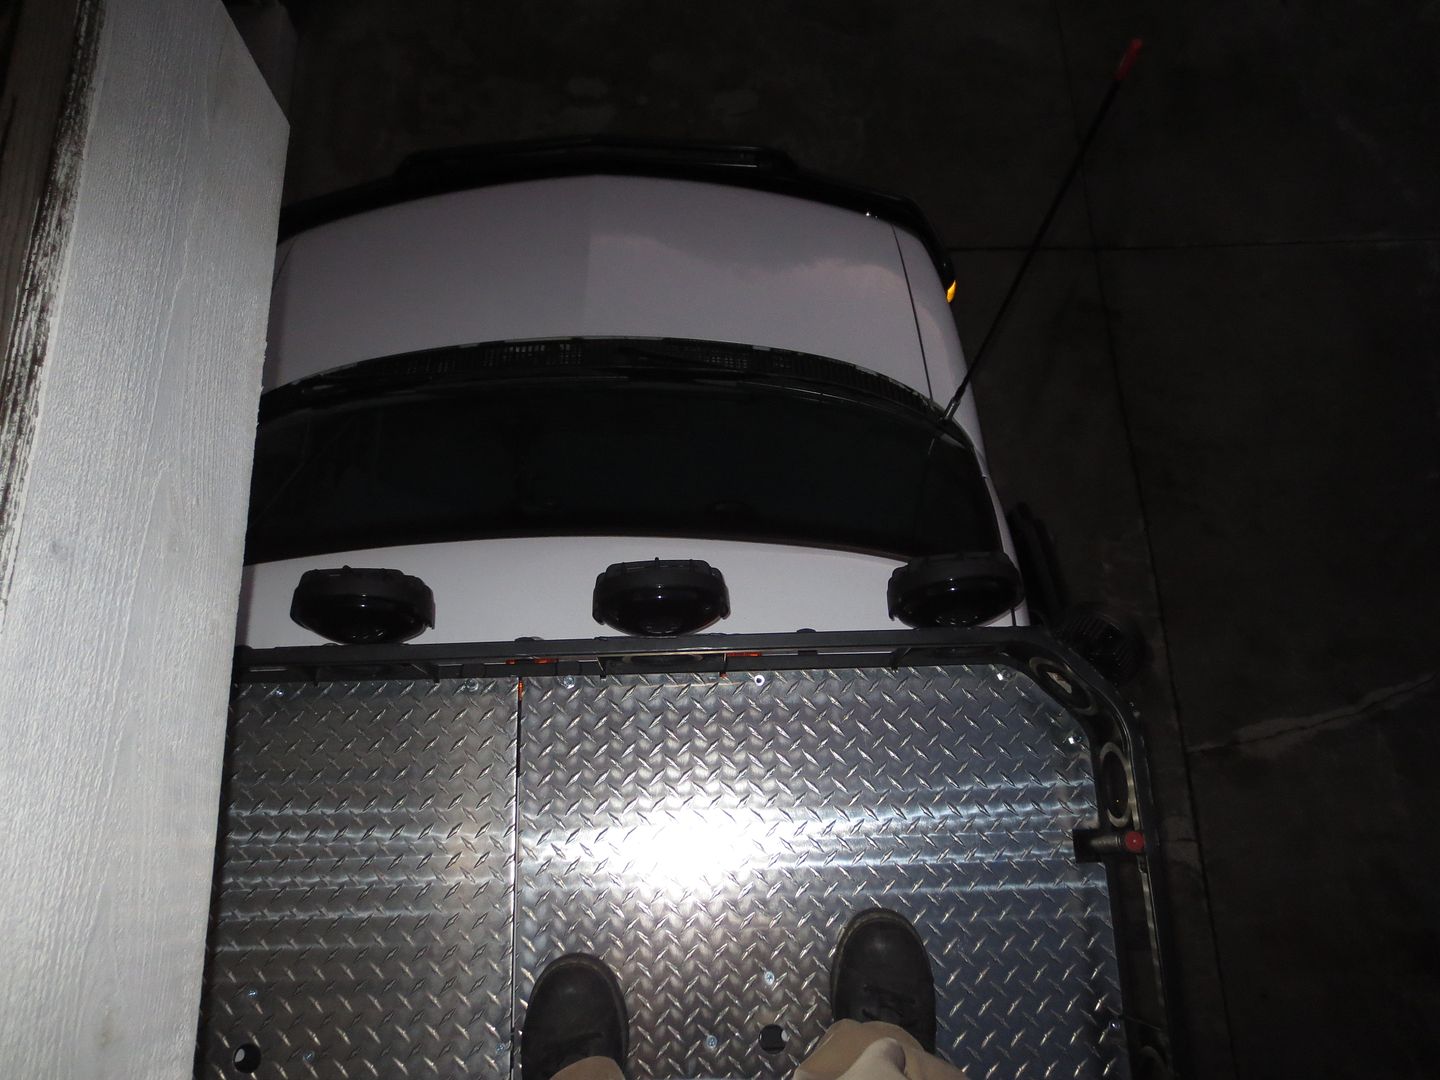
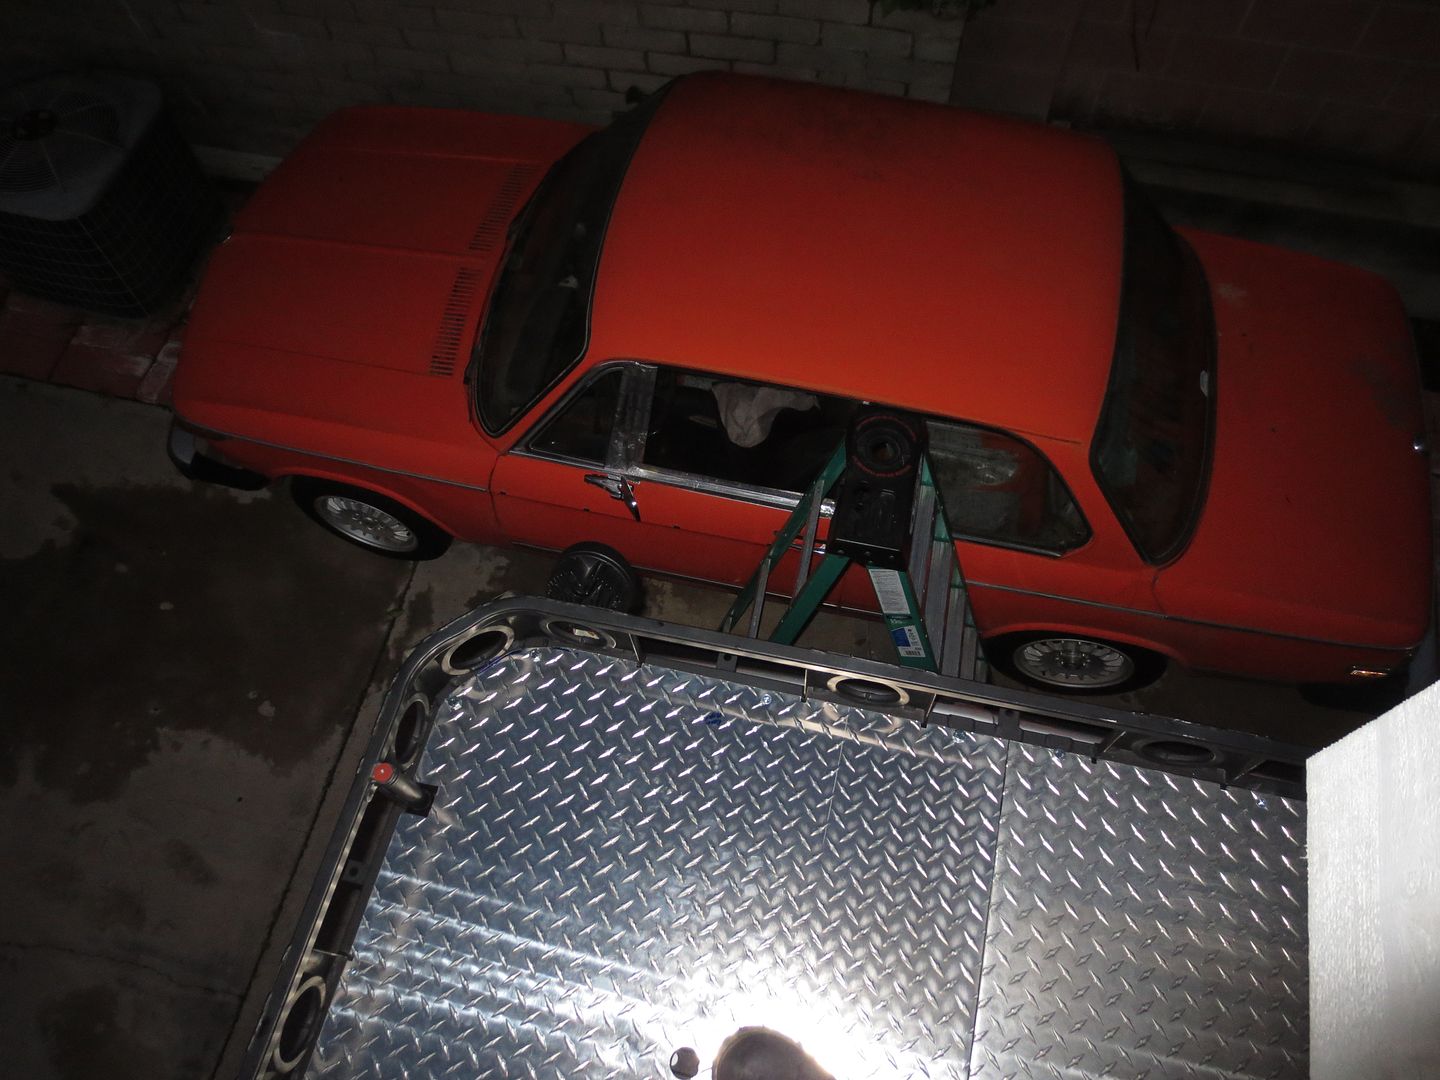
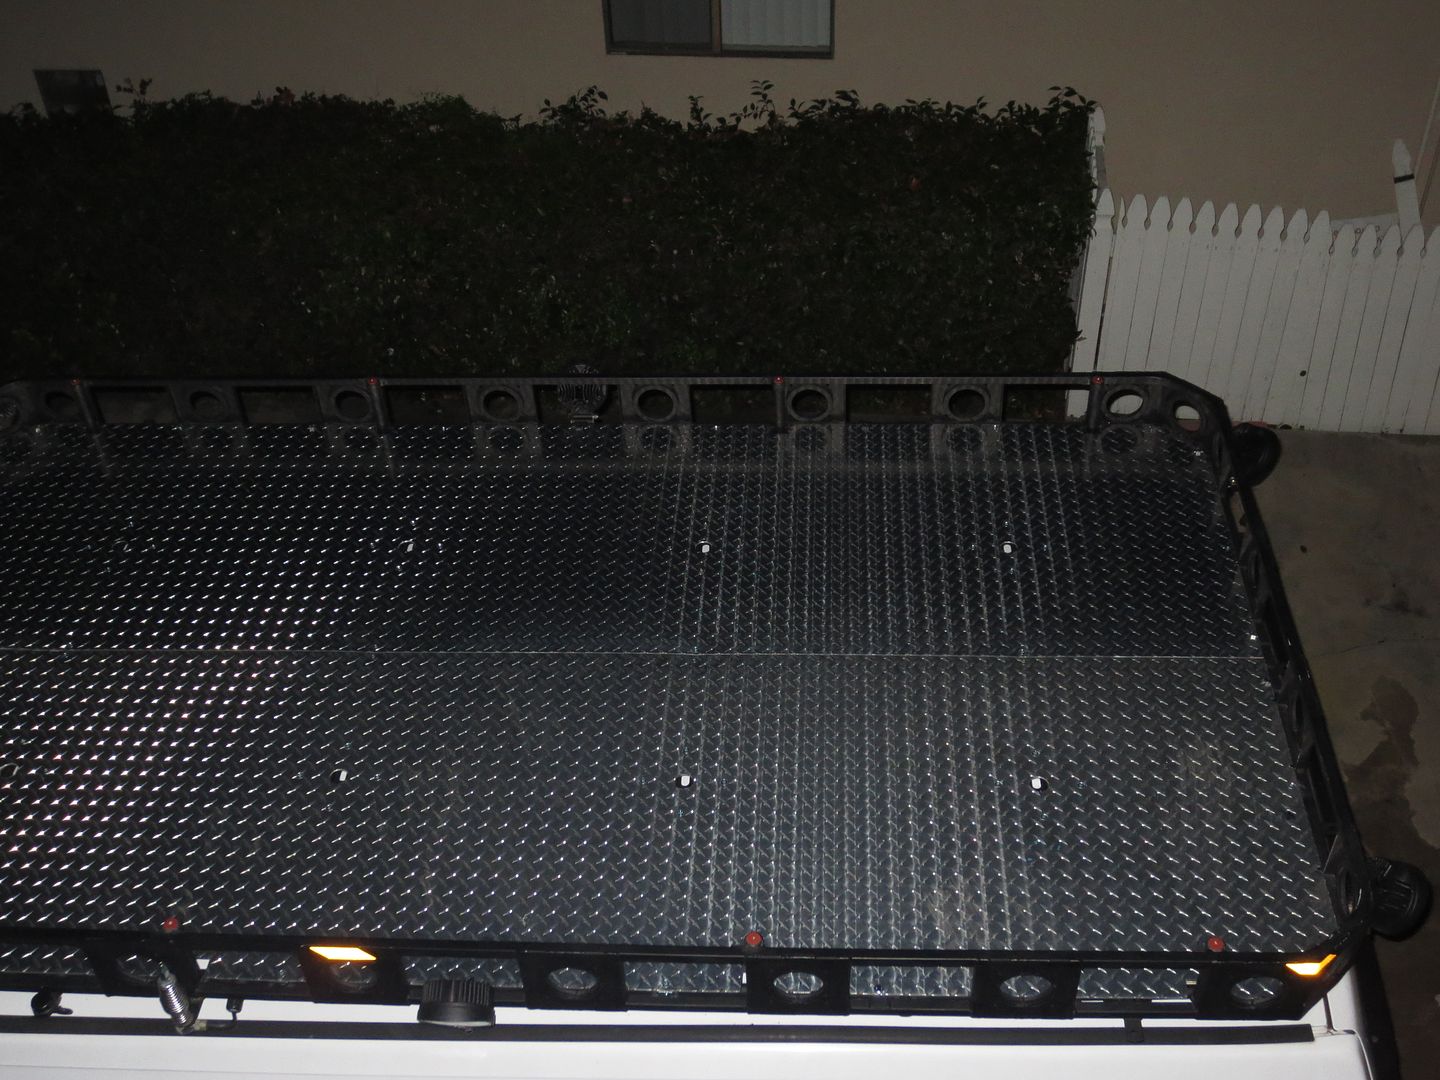
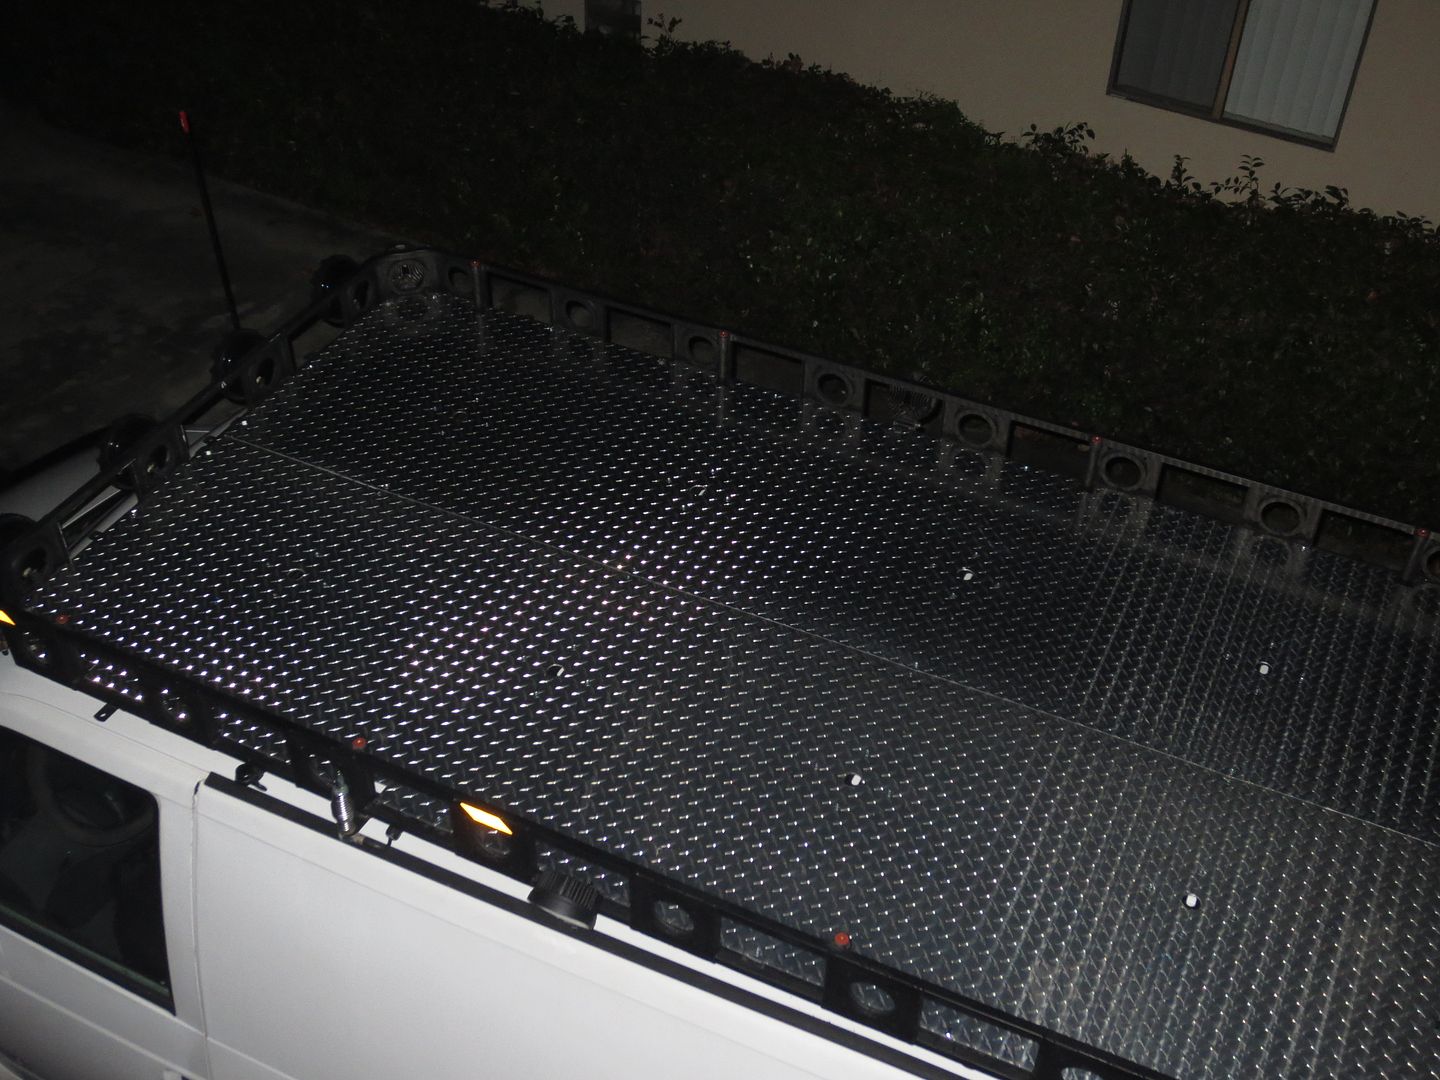
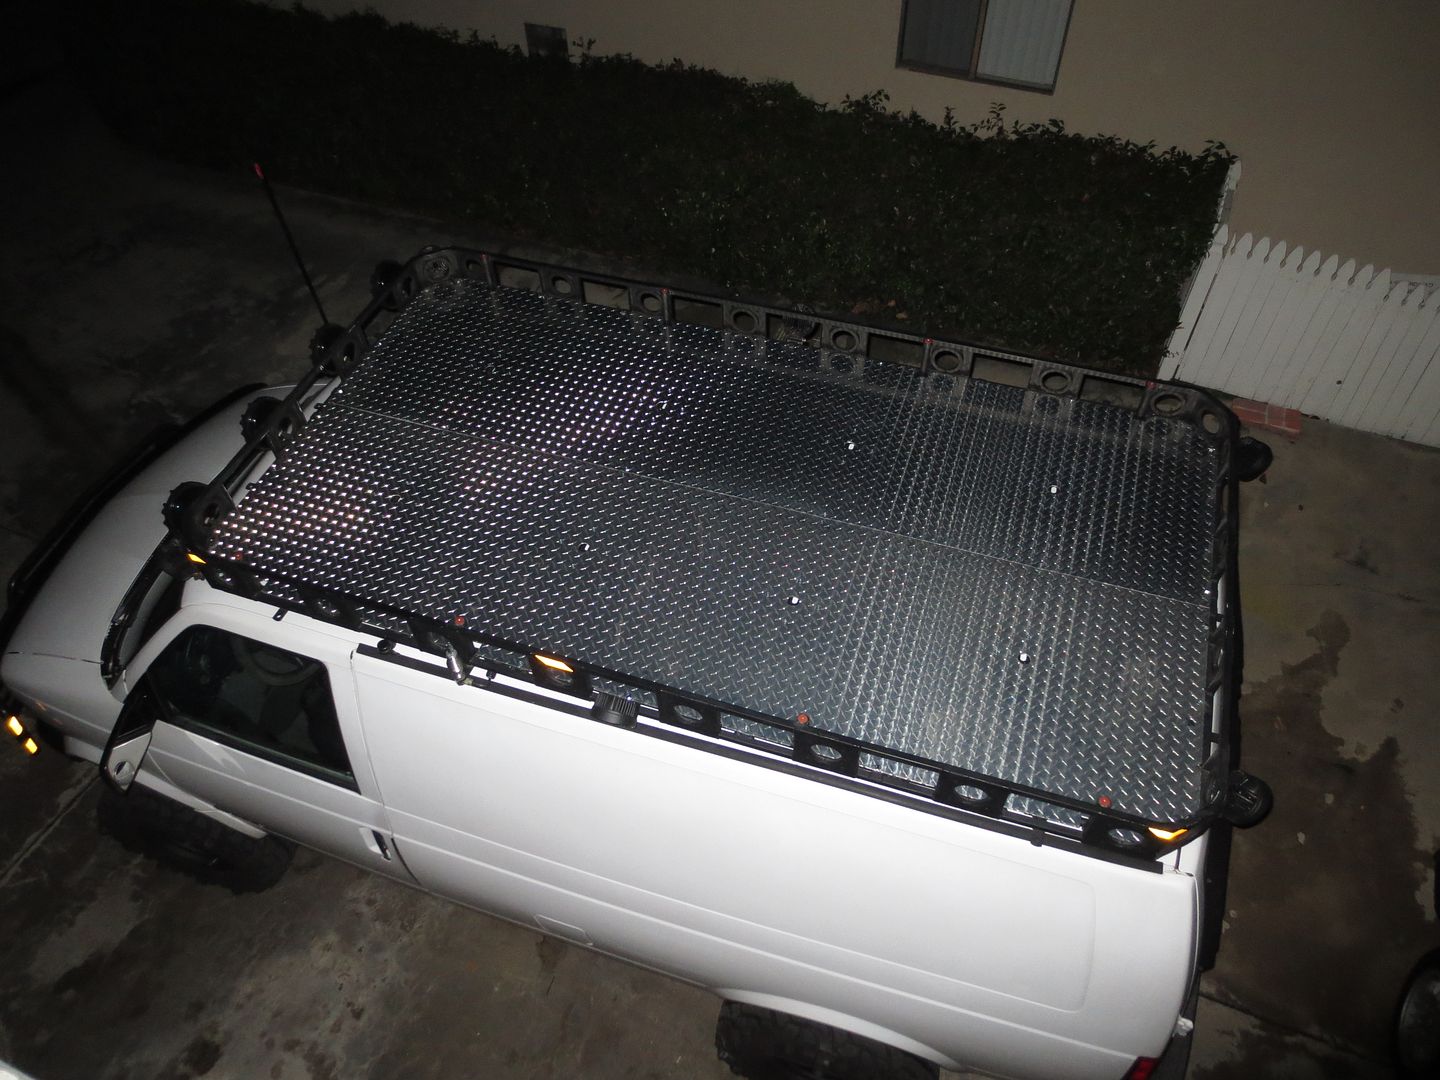
So today I was buggin' and pulled the lenses off the clearance lights, blew them out with compressed air, siliconed the crap outta them and reassembled. If they still leak I'd be shocked. I used Dow Corning Silicone:
748 Noncorrosive Nonflowable Low Odor—Use with corrosion-sensitive electrical and electronic equipment. Plus, it doesn't have the harsh vinegar smell of other silicones. Bonds metal, plastic, glass, and rigid PVC. Resists moisture and weather. Begins to harden in 30 minutes.
The downside is that it's white, so I needed to be extra careful not to get it all over the lens. The upside is that it's OK for plastics that are susceptible to cracking easily. The Bostitch polyurethane sealant I used on the rest of the roof likes to crack translucent plastics.
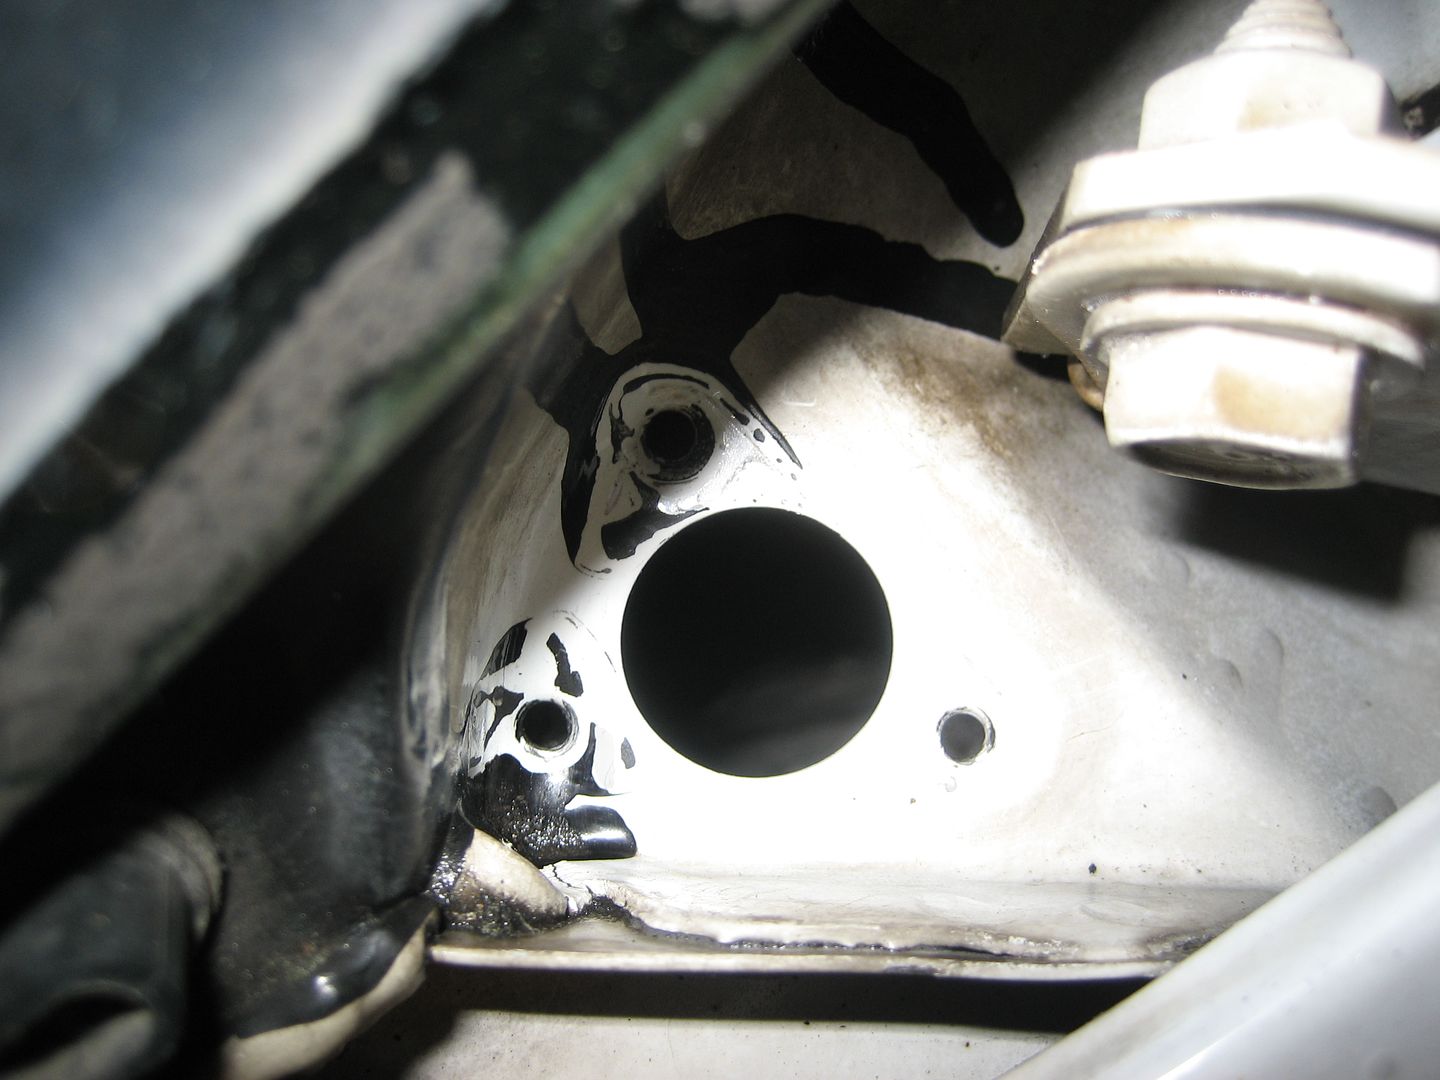
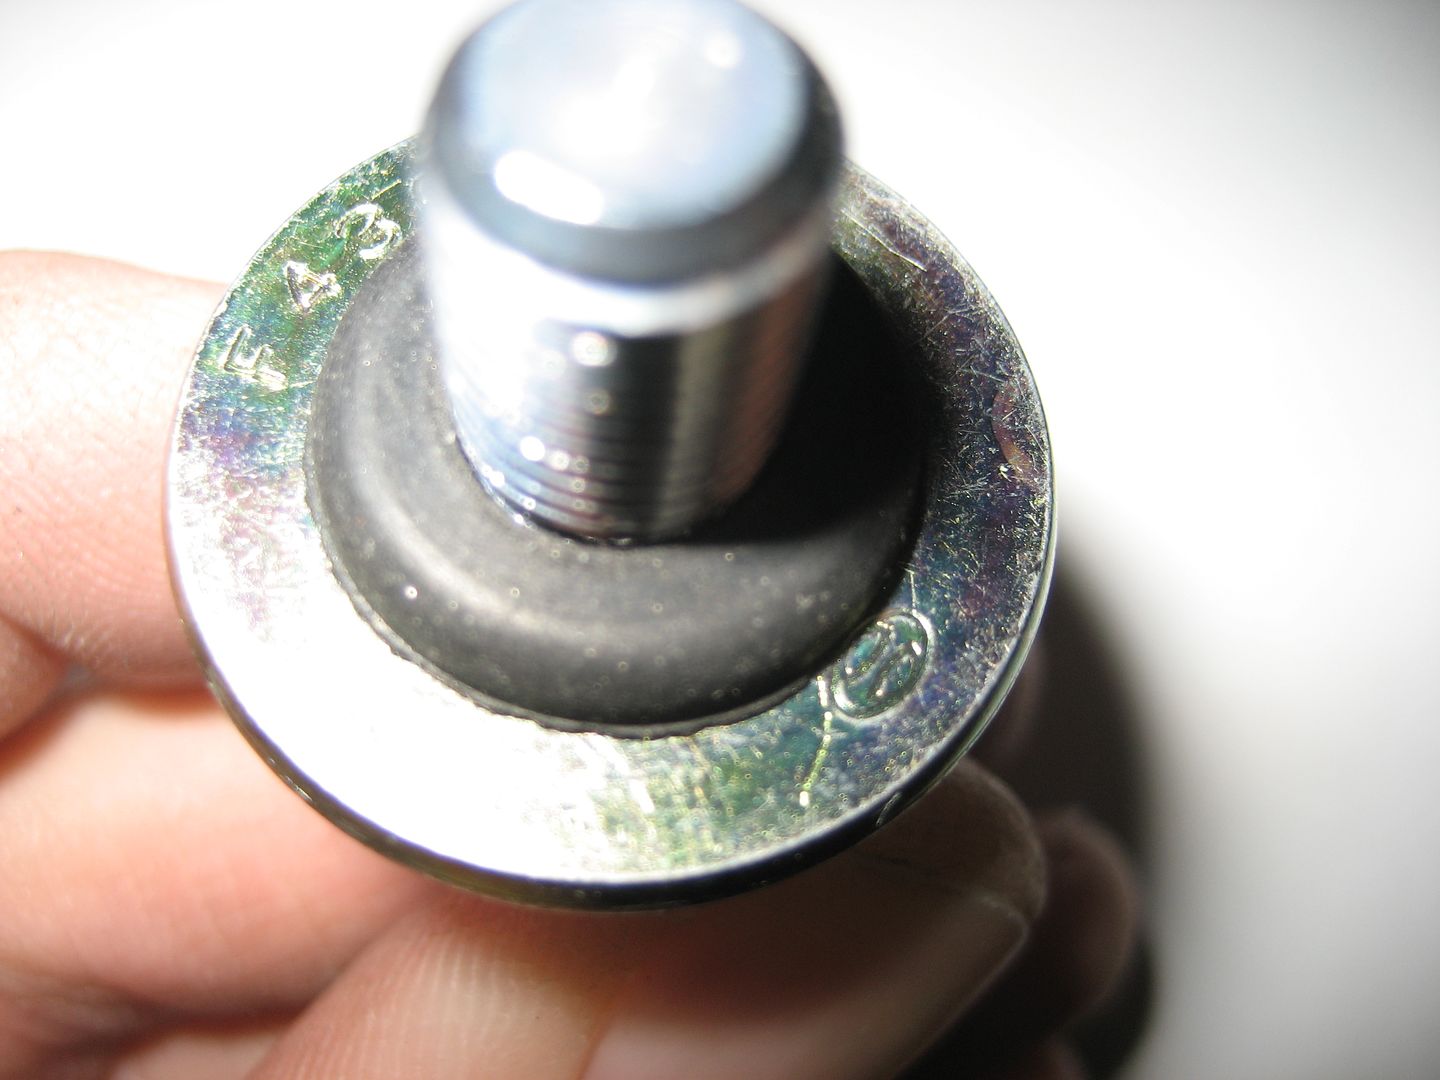
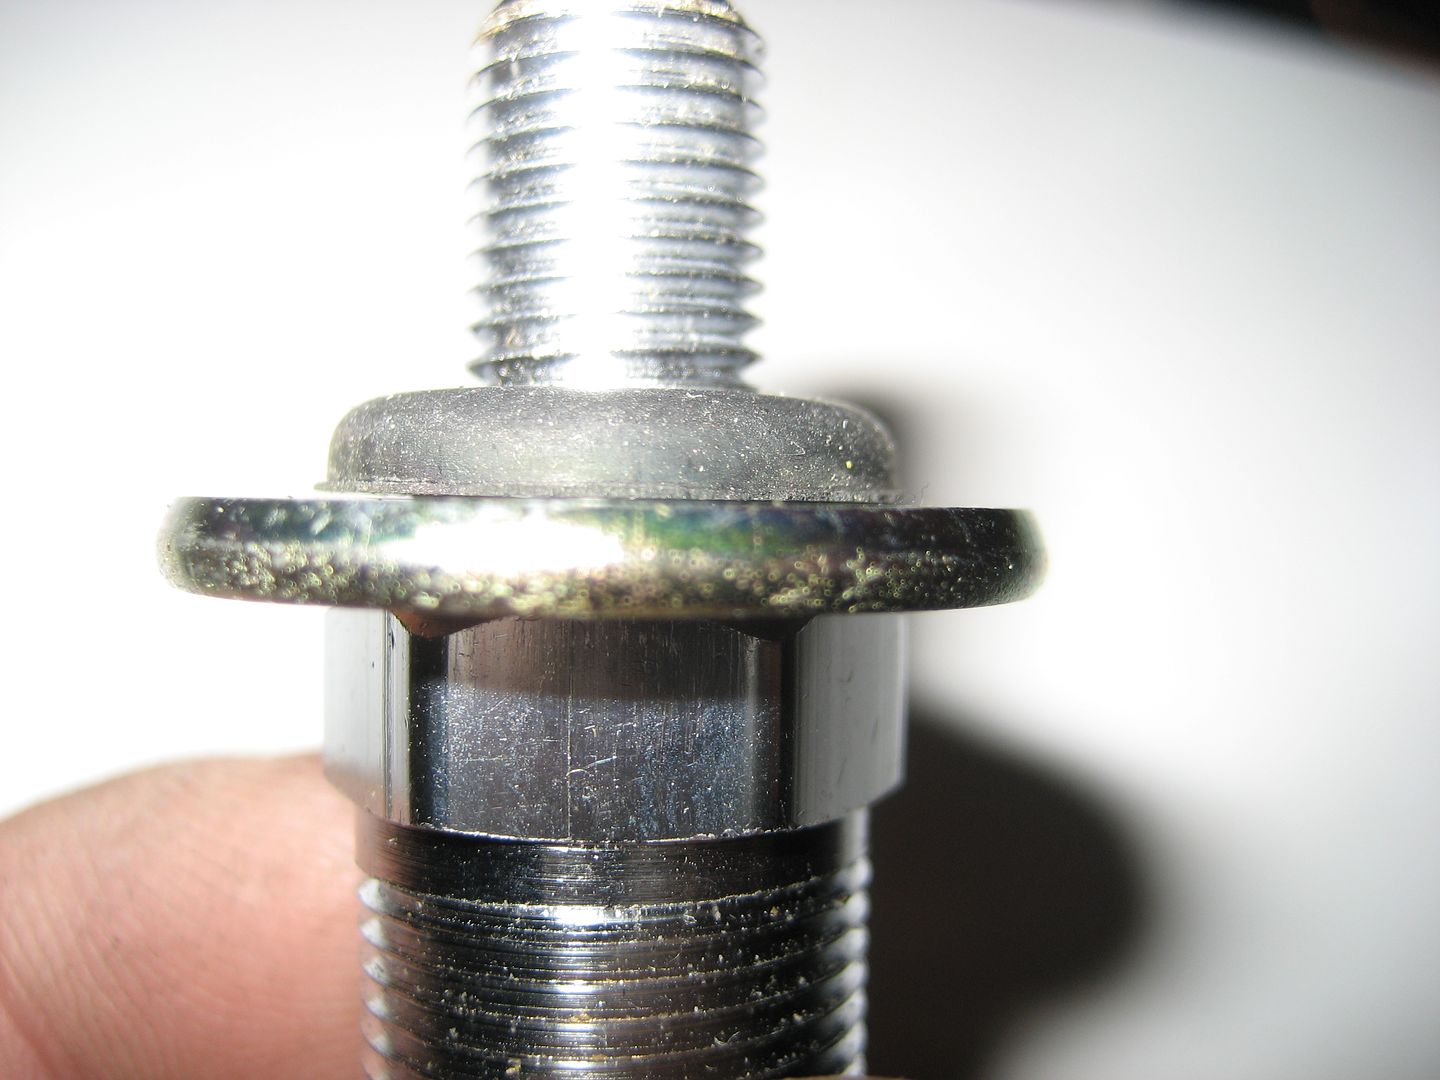
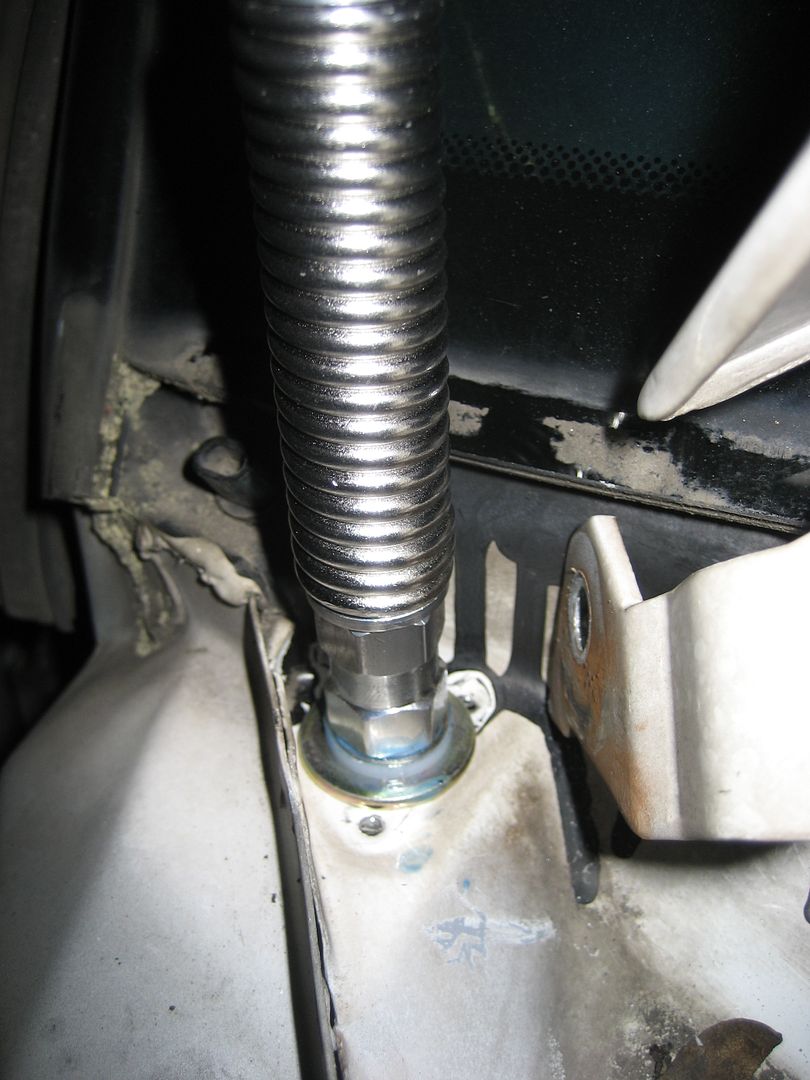
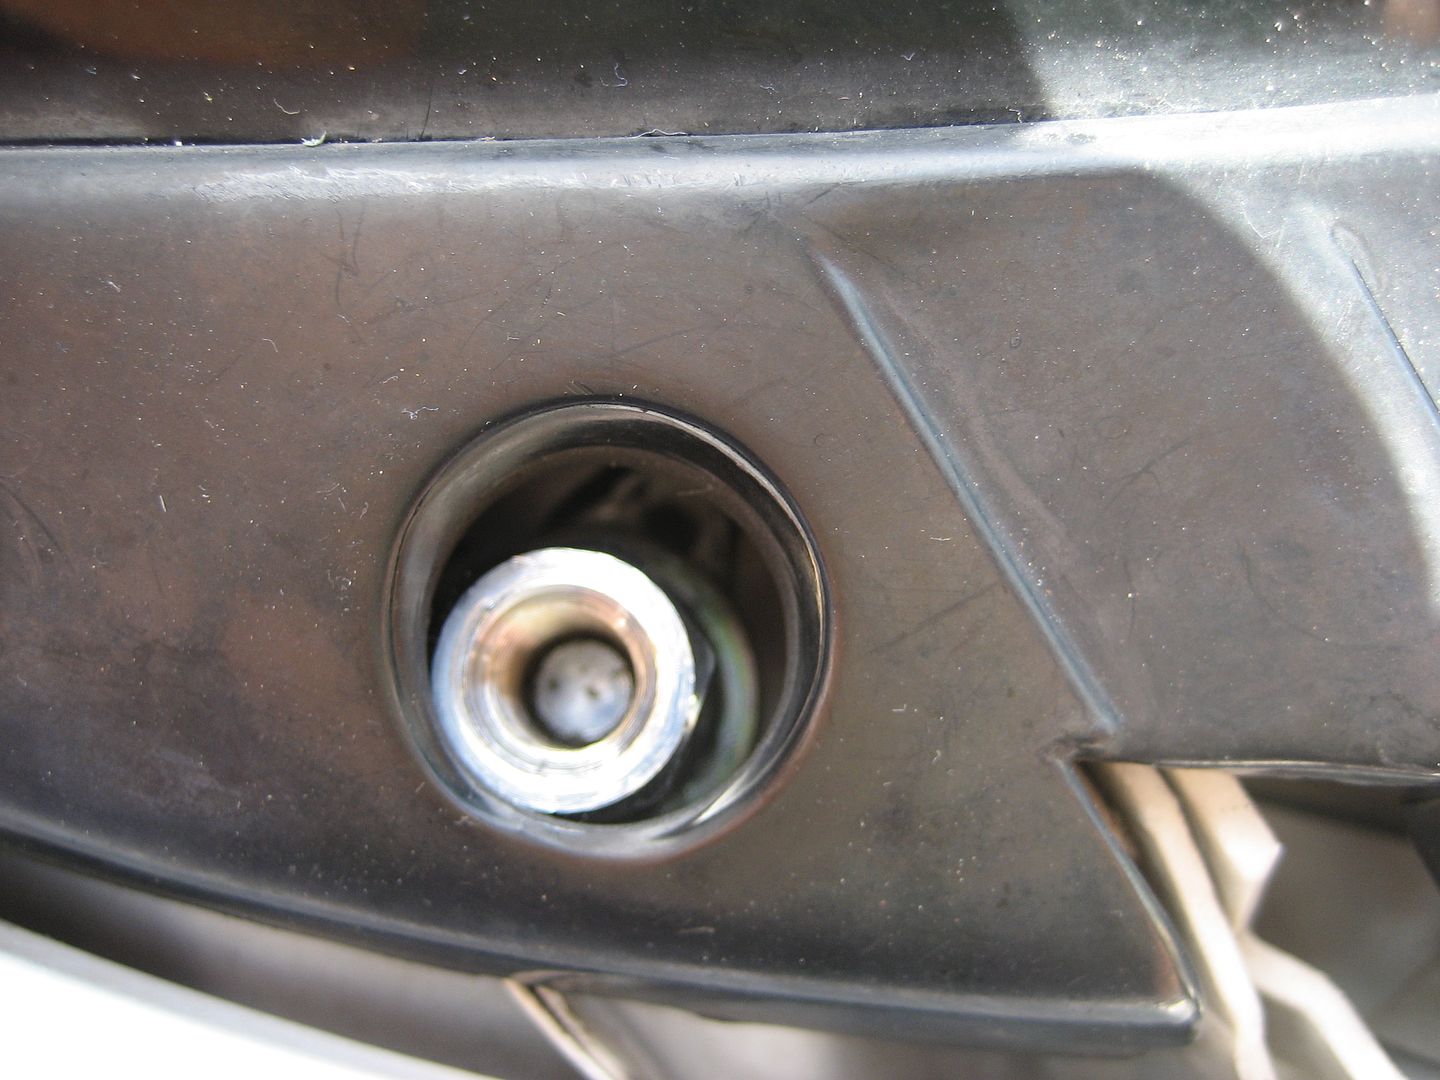
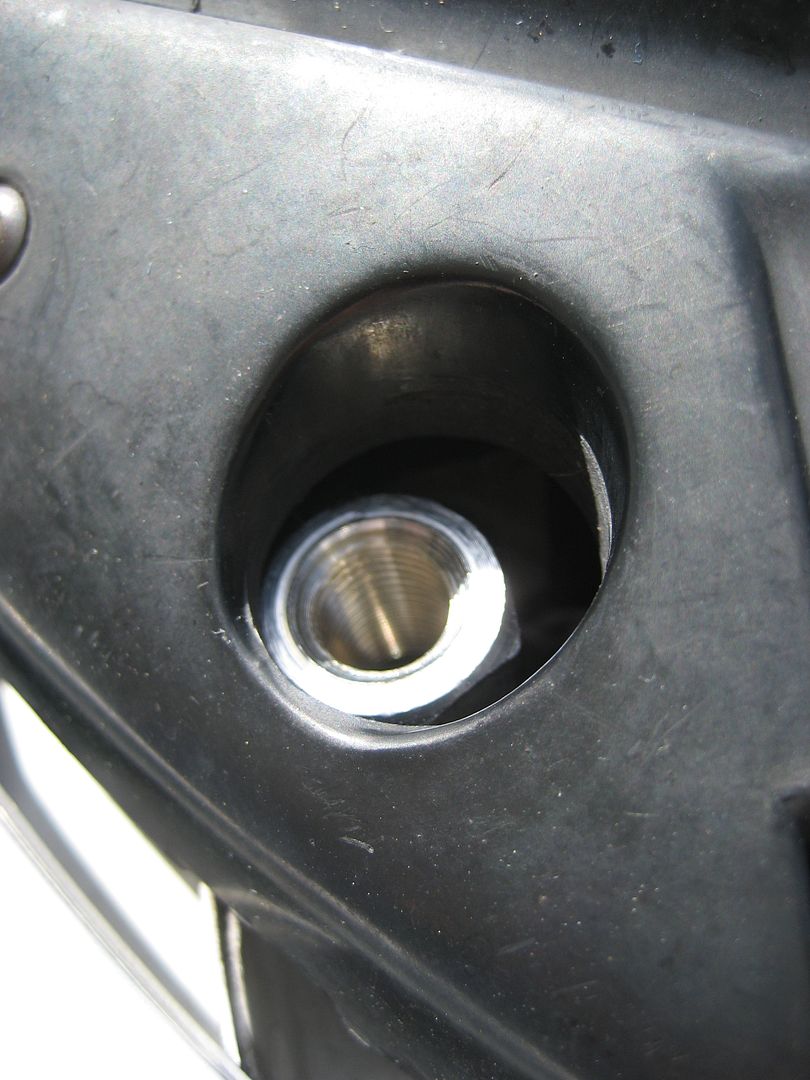
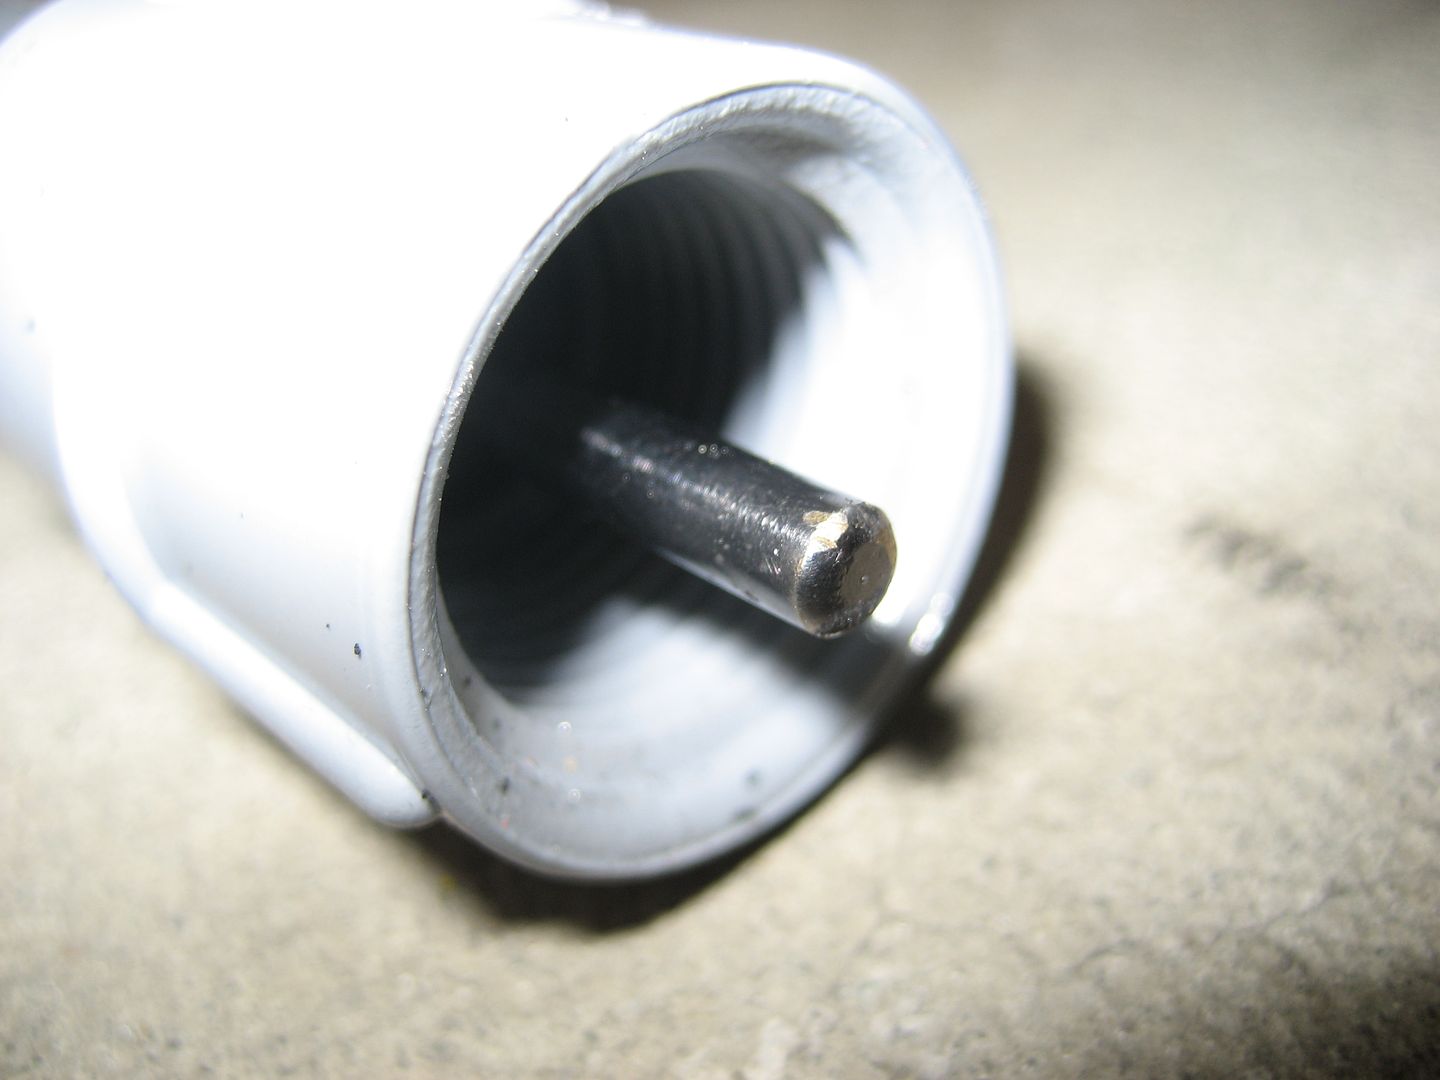
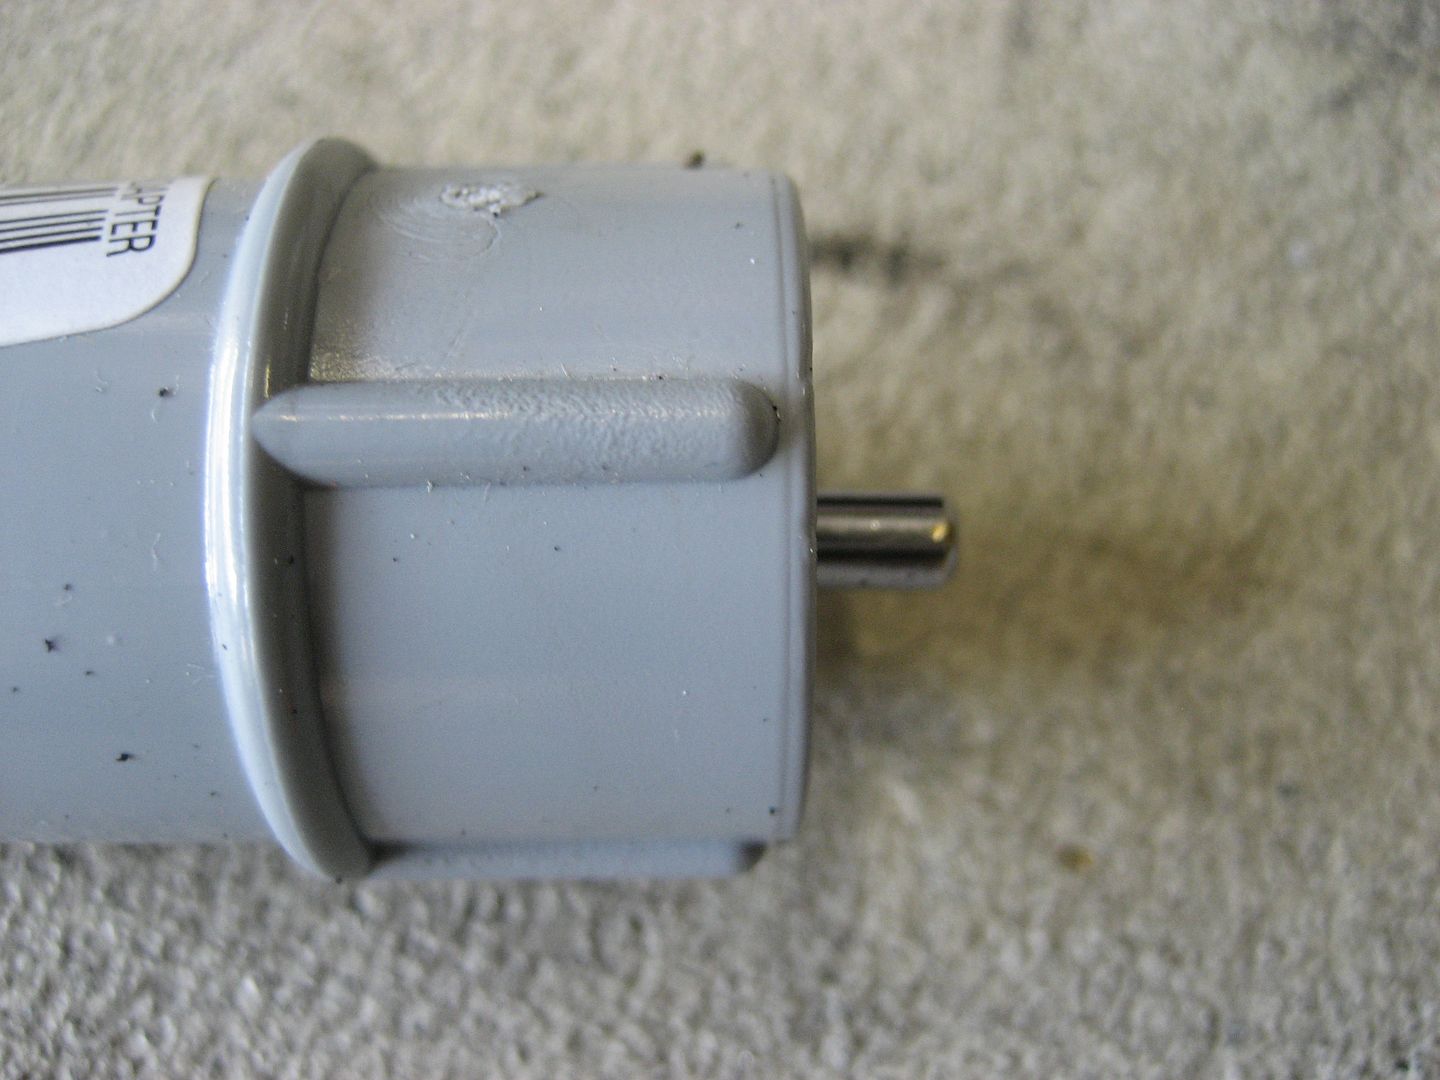
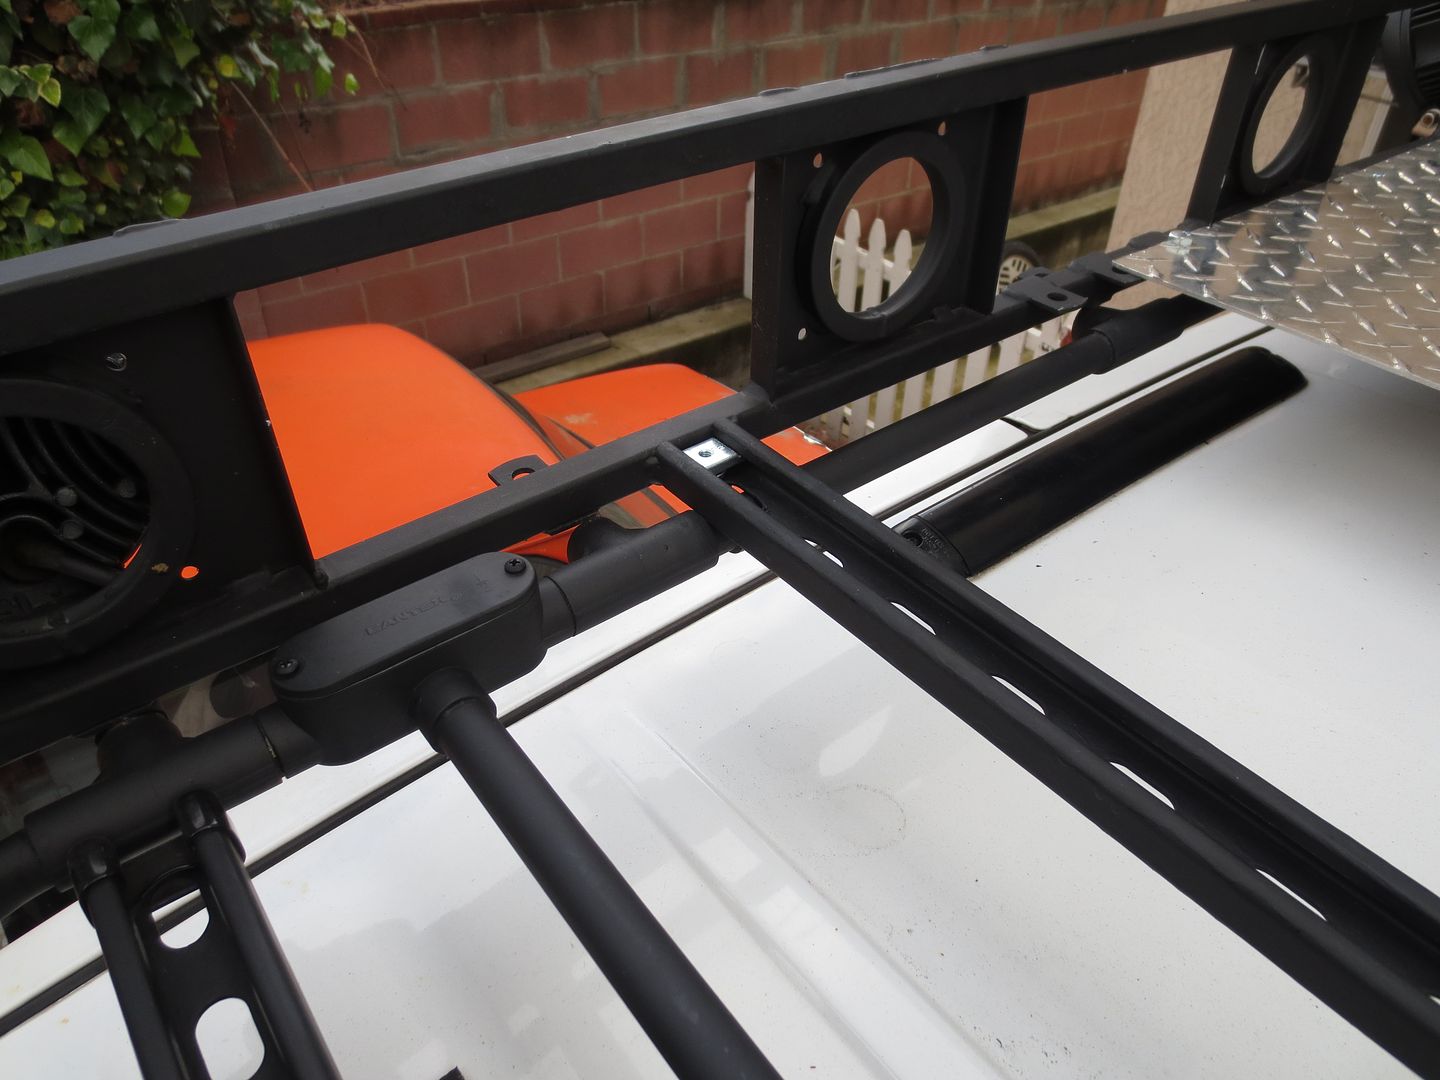
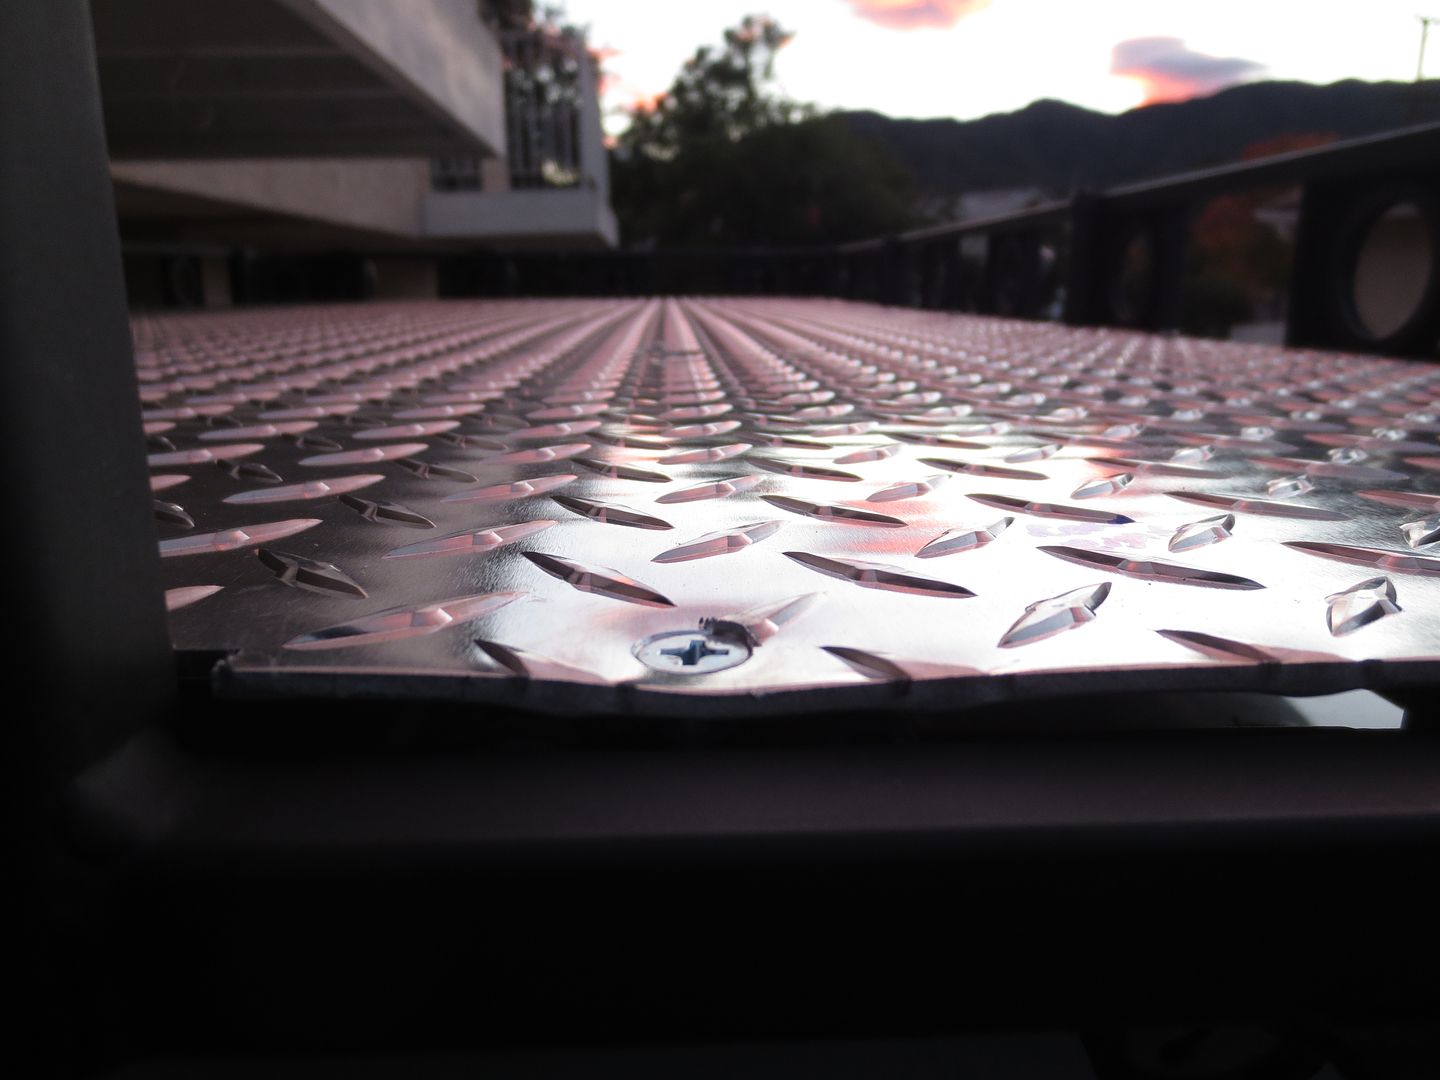
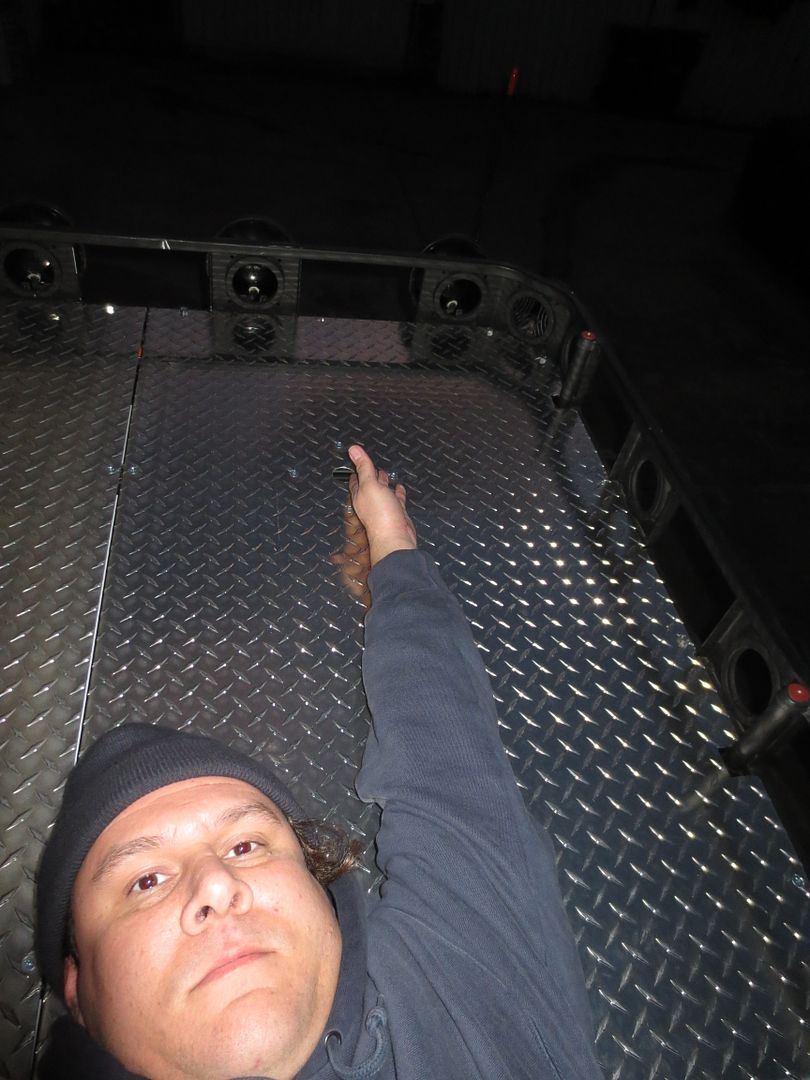
I looked at the bolt that was leaking and could not see why. The rubber o-ring washer under the head of the bolt looks snug and the rubber washer inside does too. I also could not see any break in the polyurethane seal around the foot. So I'm a little puzzled on that one. I guess I will have to pull it and see what's up.
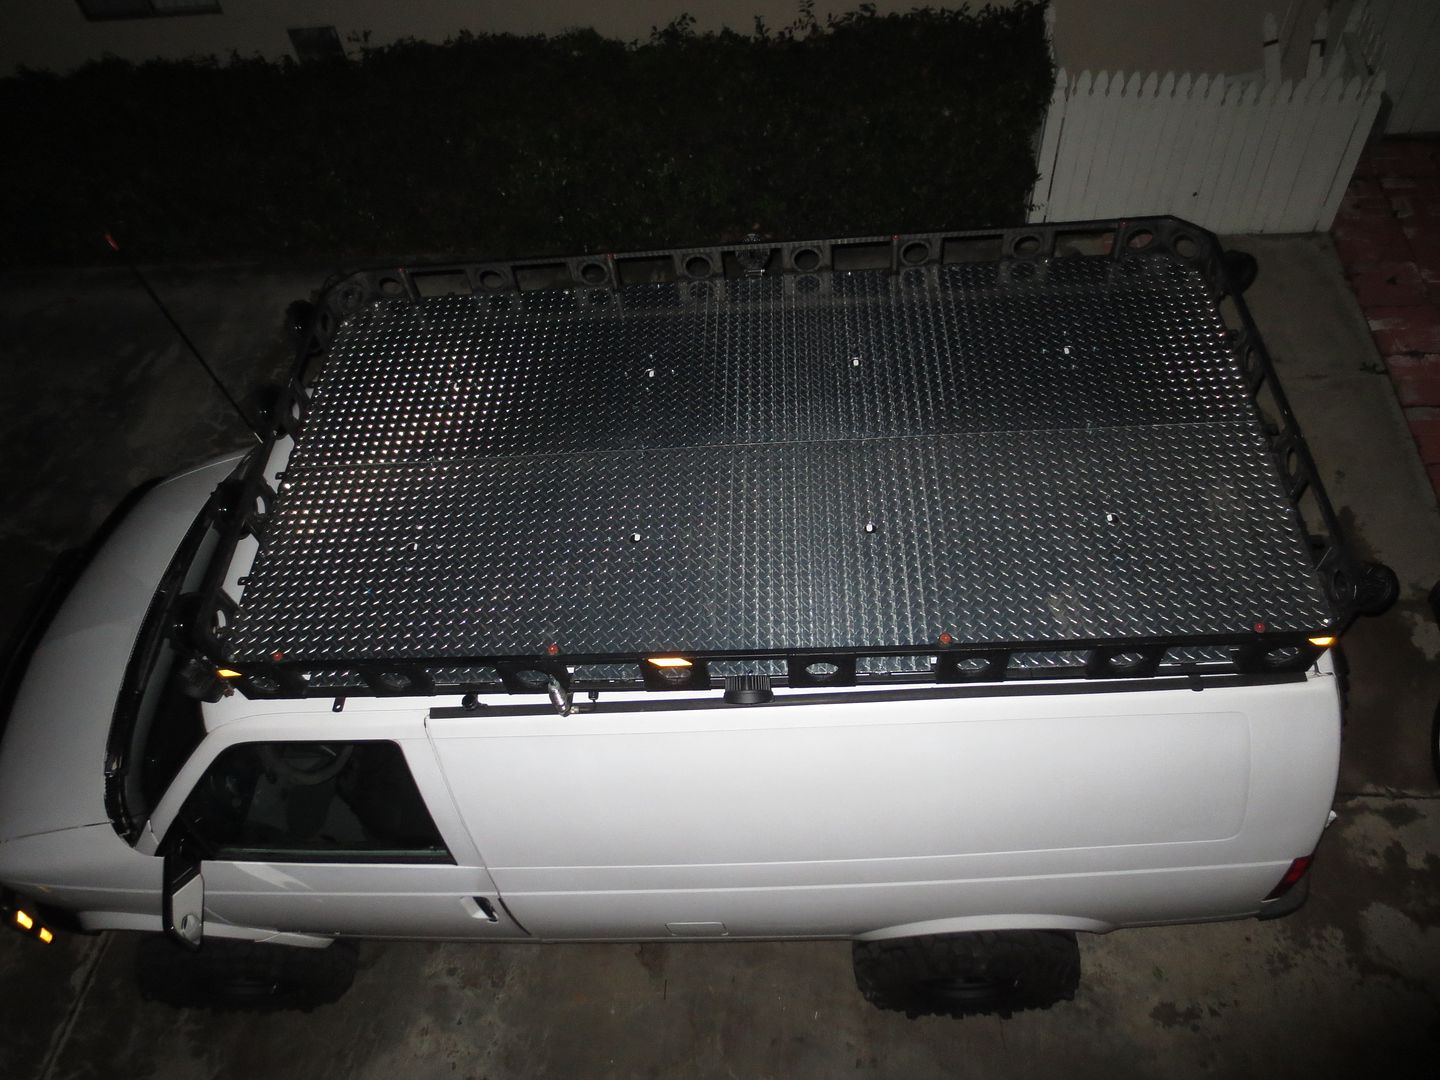
So today I was buggin' and pulled the lenses off the clearance lights, blew them out with compressed air, siliconed the crap outta them and reassembled. If they still leak I'd be shocked. I used Dow Corning Silicone:
748 Noncorrosive Nonflowable Low Odor—Use with corrosion-sensitive electrical and electronic equipment. Plus, it doesn't have the harsh vinegar smell of other silicones. Bonds metal, plastic, glass, and rigid PVC. Resists moisture and weather. Begins to harden in 30 minutes.
The downside is that it's white, so I needed to be extra careful not to get it all over the lens. The upside is that it's OK for plastics that are susceptible to cracking easily. The Bostitch polyurethane sealant I used on the rest of the roof likes to crack translucent plastics.
I looked at the bolt that was leaking and could not see why. The rubber o-ring washer under the head of the bolt looks snug and the rubber washer inside does too. I also could not see any break in the polyurethane seal around the foot. So I'm a little puzzled on that one. I guess I will have to pull it and see what's up.